Register Today
for In-Depth
CallRail Training
Visit the ParaCore Academy
Timestamps:
[0:15] – Intro
[0:58] – Getting started
[1:45] – Basic integration
[2:50] – Testing basic integration
[3:29] – Dynamic number insertion
[4:26] – AdWords integration
[5:30] – Alternative integration options
[6:34] – Google Analytics
Transcript:
You’ve registered for CallRail, and you’ve setup your phone numbers, but now you’re probably thinking, “okay, how do I use them?” “How do I get my tracking numbers into my campaign?” Those are great questions and they’re topics we’re going to cover in today’s video. Today, I’ll take you through the steps involved in setting up CallRail integrations for your PPC campaign including dynamic number insertion. We’ll also touch on important steps you need to take for your call tracking integrations to work effectively.
I’m Adam Arkfeld, owner of ParaCore, a pay-per-click lead generation agency. This is the 4th video of 10 in my Ultimate Guide to Using CallRail for your PPC Marketing. It’s a comprehensive video series for using CallRail, a third-party call tracking system, with your pay-per-click marketing. Once you’re done with the series, you’ll be a call tracking AND CallRail guru. If ever you want to jump to a specific section of the video, we’ve included timestamps in the description below. You can always watch previous videos as a refresher or skip ahead to other videos if I’m covering a topic you’re familiar with.
Let’s get started. At this point, you’ve setup your numbers in CallRail. Today, I’m going to show you how to connect those numbers to your website and other platforms you might be using. This process is called integration.
Basically, we’re going to insert or “integrate” call tracking into your marketing campaign. If you haven’t setup your numbers in CallRail yet, you can click the pause button now, and watch video three in this series, which covers setting up your phone numbers in CallRail. Video three is very thorough, so if you’re feeling lost, you won’t be after you’re done watching it. You can always come back to this video when you’re ready.
Today’s video will be covered in two sections. The first will cover the most popular platforms and systems for integration that you need to know because you’ll likely use them all the time. This includes dynamic number insertion, WordPress integration, and connecting to your AdWords account.
The second section covers additional integrations that you might be using to optimize your marketing. The most basic integration is integrating CallRail into your website. This involves adding your tracking script to your site or landing page and there are two different ways to go about it.
The first is using CallRail’s WordPress plugin. If you’re using WordPress to run your website, you’ll integrate CallRail with WordPress by using the CallRail WordPress plugin available under “settings” in CallRail. It’s super simple to set-up.
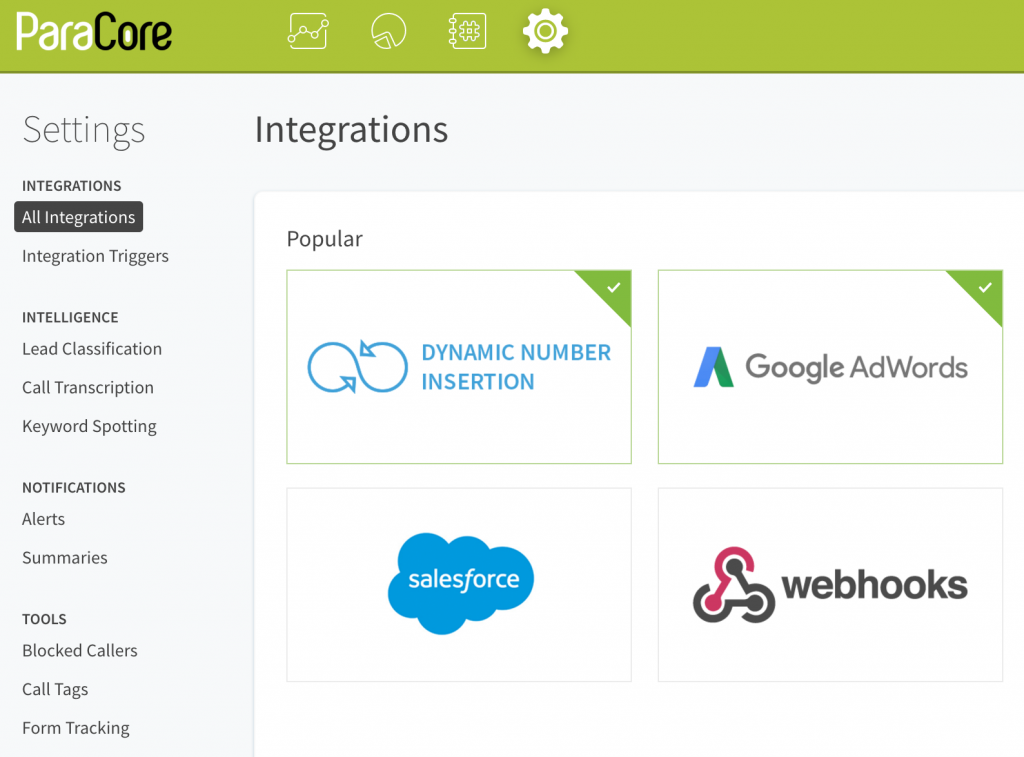 (Figure 4.1: Scroll down to find the WordPress plugin.)
First, go to CallRail “Settings,” “All Integrations,” and choose WordPress (Figure 4.1 above).
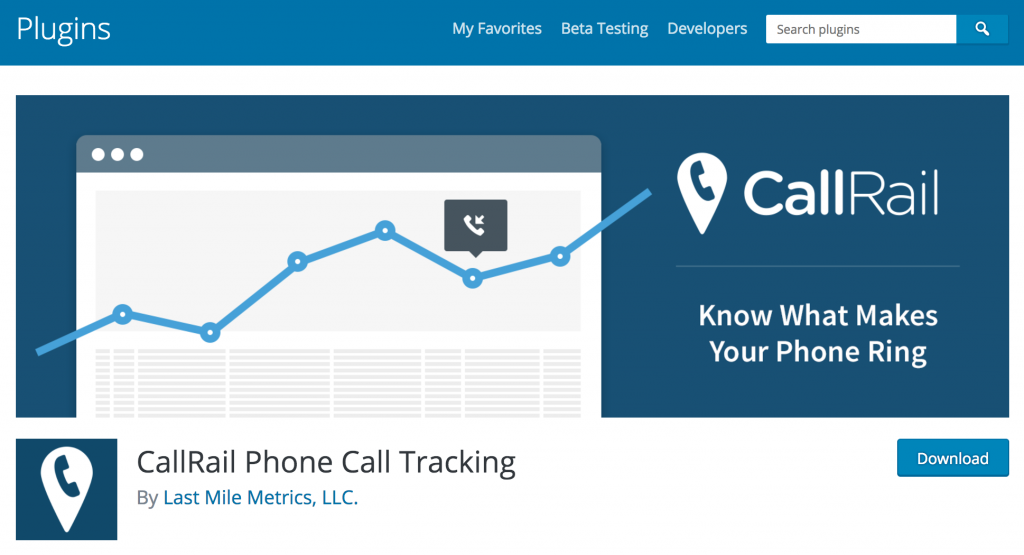 (Figure 4.2: This is what you’ll see when you click the CallRail WordPress plugin download button.)
Next, download the CallRail WordPress plugin (Figure 4.2 above). After you’ve installed and activated the plugin, you’ll need to add your CallRail plugin key to your WordPress site (Figure 4.3 below).
 (Figure 4.3: This is an example of the key you use to make your plugin work.)
This connects your CallRail account with your website. To do this, visit the WordPress admin section of your site; click “Plugins” in the left column and activate the CallRail plugin. Next, click “Settings” in the left column, and then “CallRail.” Add your WordPress plugin key from CallRail and save your change. These instructions are available under the CallRail settings if you get lost.
Essentially, this allows CallRail to dynamically swap the phone number displayed on your WordPress site with a phone number specifically linked to the source the visitor came from; for example, an AdWords ad.
Once you’re done with the set-up, you can test it out on your WordPress site by going to the “Numbers” tab in CallRail. From there click on the number name you’re testing; for example, “WordPress website.”
 (Figure 4.4: Choose “Always Swap” to test it out.)
Scroll down to the “Dynamic Number Insertion” section and select the option “Always Swap” (Figure 4.4 above).
After you’ve done this, refresh your WordPress web page and it should now show the swapped tracking number. If it doesn’t, you may have skipped a step in the process, so retrace your steps and rewind this video to walk you through it again. Remember: there are timestamps in the description below this video, which may help send you right to the section you’ll need, so don’t be afraid to use them. The WordPress plugin is by far the easiest way to integrate your CallRail tracking numbers with your site or landing pages.
Now, if you’re not using WordPress and you’re using a platform like Unbounce or another website hosting, you won’t be able to use the WordPress plugin. You’ll need to use the dynamic number insertion script.
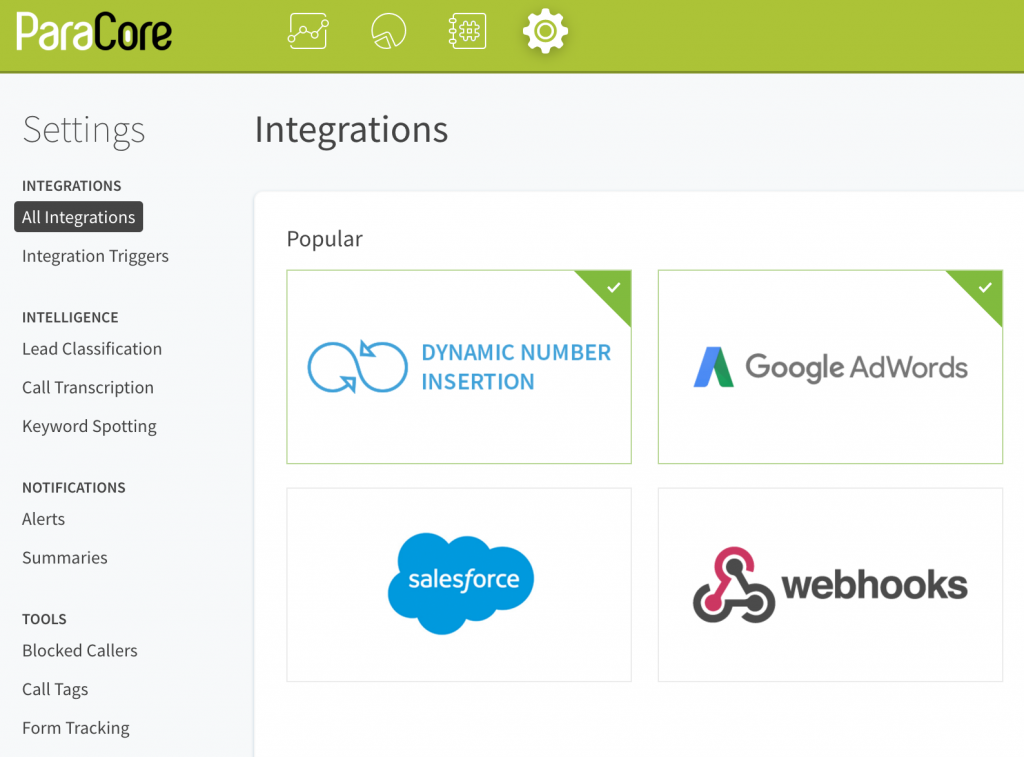 (Figure 4.5: You may need to scroll down for your option.)
 (Figure 4.6: Choose “Dynamic Number Insertion.”)
Just as we did with the plugin, you’ll go to CallRail “Settings,” and “All Integrations” but this time you’ll choose “Dynamic Number Insertion” (Figures 4.5 and 4.6 above). From that page, you’ll copy “Your Code Snippet” and add the snippet to every page of your website (Figure 4.7 below).
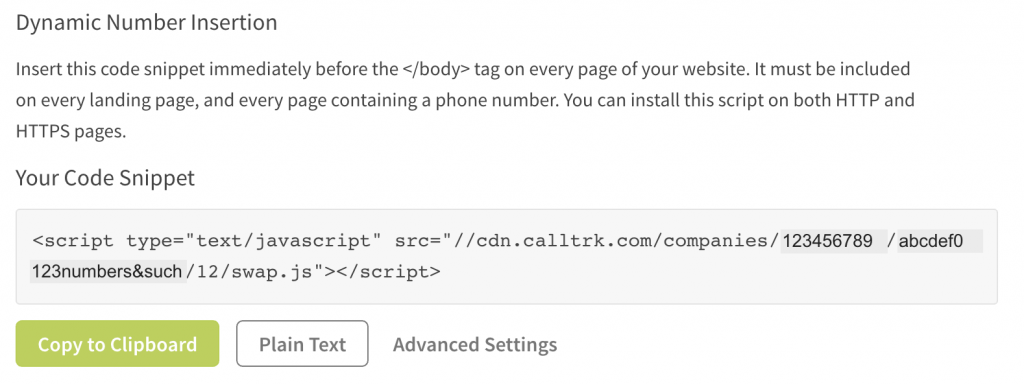 (Figure 4.7: This is an example of a code snippet.)
Insert the code snippet immediately before the closing “body” tag on every page of the site. It must be included on every landing page, and every page containing a phone number so the numbers swap correctly. You can install this script on both HTTP and HTTPS pages. Take note not to put it in the head tags as it might not work correctly.
With the code snippet in place your page will load and render a phone number on the page, but your snippet code will look for a “swap target,” which is the number being replaced on your website. This script sees that swap target and then swaps it with a tracking number that visitors will see. Once installed, it should work like magic. It’s that easy.
The third integration that’s super important is the AdWords integration. This one requires a disclaimer: if you want your call conversions from CallRail in AdWords, your CallRail tracking needs to have a keyword pool. If you haven’t already set one up, stop this video, go back to Video 3 and watch it to learn how to set-up your keyword pool.
If you do not have a keyword pool, you will not get your conversion metrics because CallRail and AdWords will not be connected to share information the right way. This will help you gauge the performance of your AdWords account. Make sure you set up the keyword pool first if you want the two systems passing all the data back and forth.
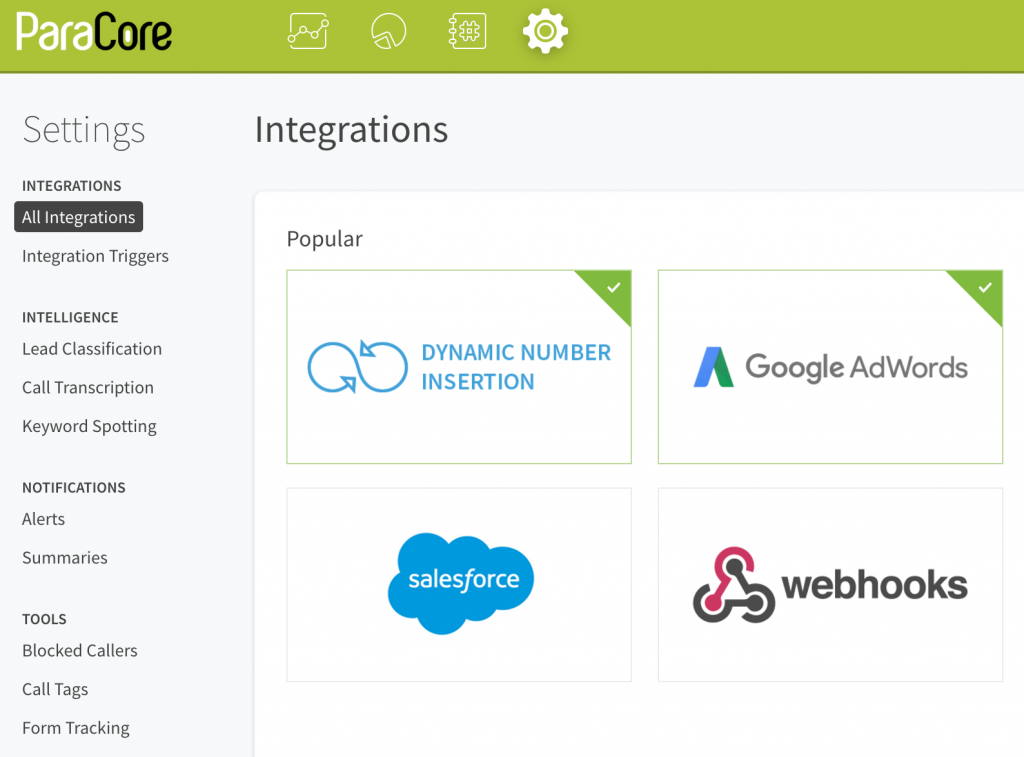 (Figure 4.8: This option is at the top of this screen.)
As with the the first two, you’ll go to “Settings,” then “All Integrations.” Choose AdWords. Follow the instructions to track phone calls as conversions in Google AdWords (Figure 4.8 above).
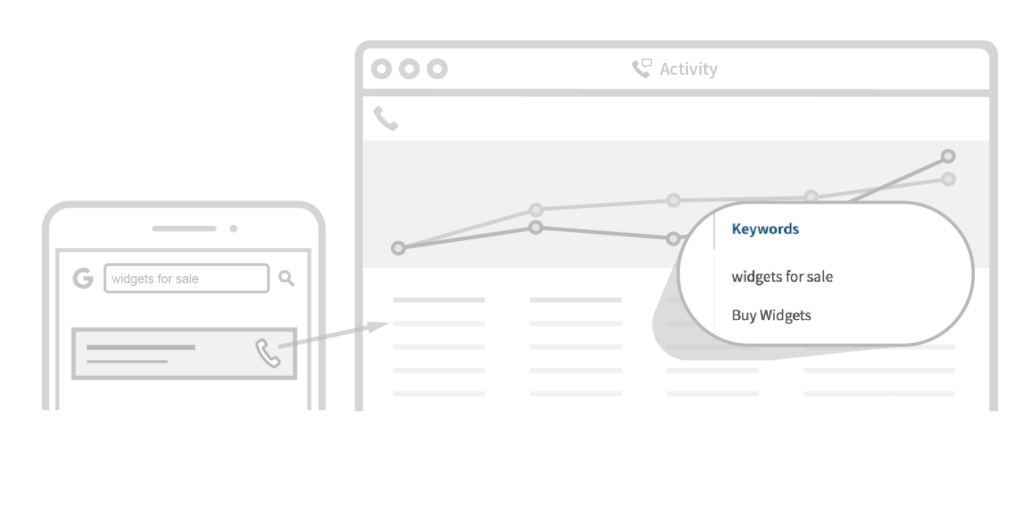 (Figure 4.9: Setting up AdWords Click-to-Call.)
You also have the Google AdWords mobile “Click-to-Call” integration option, which allows you to get keywords for calls to your ad extensions. The instructions are fairly straightforward on this one, as well (Figure 4.9 above).
At this point we covered the 3 most popular integration methods: WordPress, Dynamic Number Integration, and AdWords. It you’re running a traditional AdWords campaign, these 3 integrations will cover most of your needs. However, if you’re using other systems, you might want to integrate your call tracking data there as well.
I’m just going to briefly touch on these alternative integration options because they’re easy to use and they’re available under the CallRail settings with additional instructions.
So: what are these alternative options? Well, for starters, you can integrate using optimization tools like Unbounce and Optimizely (Figures 4.10 and 4.11 below).
 (Figure 4.10: This is the Unbounce tool.)
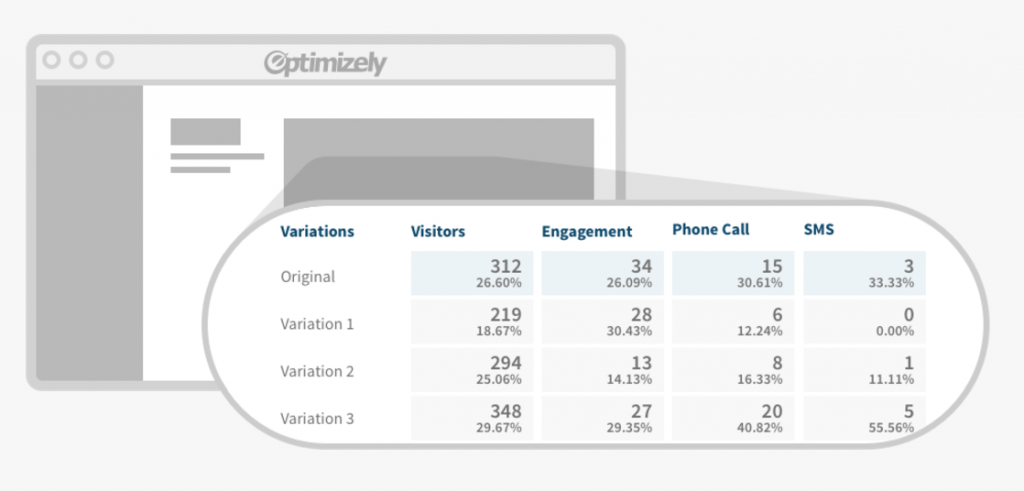 (Figure 4.11: This is a mock-screen example of Optimizely.)
For example, at ParaCore, we use Unbounce for all of our landing page development. When you connect Unbounce with CallRail you can see call data in Unbounce; however, it’s worth noting that every time someone calls, a notification is sent to the client. It treats the call as a form submission. This can get super annoying for your clients so it’s worth mentioning; however, the integration does exist and gives you enhanced data. There are just some nuances with the notifications. Optimizely is another optimization tool you can integrate with your CallRail account.
You can also integrate with bid management or PPC automation like Kenshoo or Marin, which are also available under the CallRail settings. Integrating with your bid management system allows you to map calls back to your data in these systems.
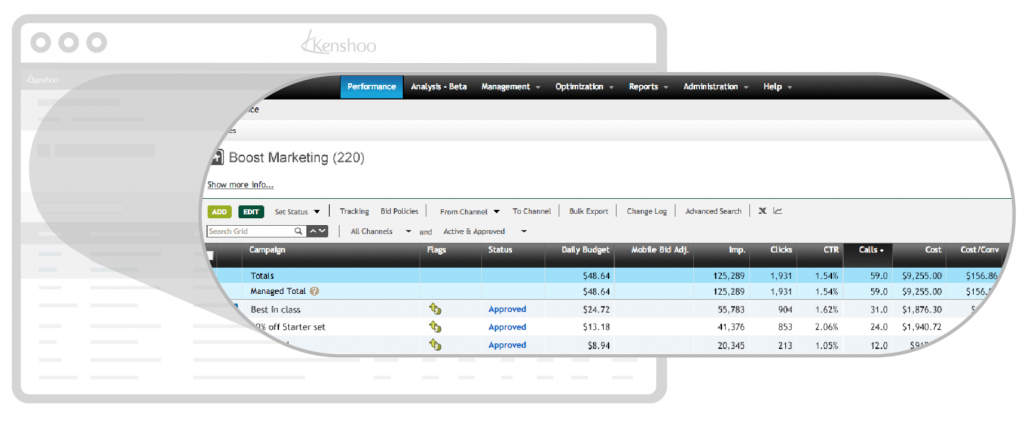 (Figure 4.12: Example of Kenshoo integration.)
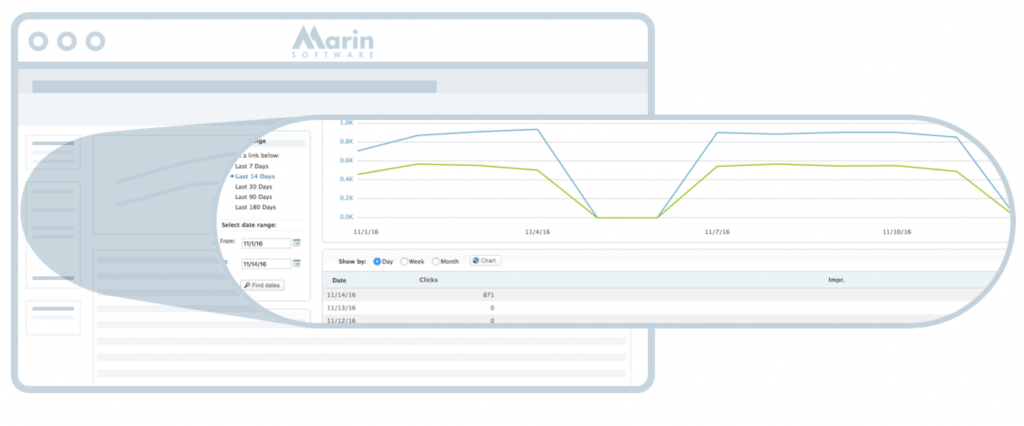 (Figure 4.13: Example of Marin integration.)
Send call data to Kenshoo to automate and optimize your marketing campaigns (Figure 4.12 above). With Marin, you can manage and optimize your campaigns by tracking across web and mobile devices (Figure 4.13 above).
Now, let’s talk about Google Analytics, because even if you don’t use it often, it’s a service you’ve likely heard of before. When you integrate with Google Analytics, you’re able to track your phone calls as goals. You can set the UTM tags to whatever you want for campaign tracking in the phone number’s settings (see Figures 4.14 and 4.15 below).
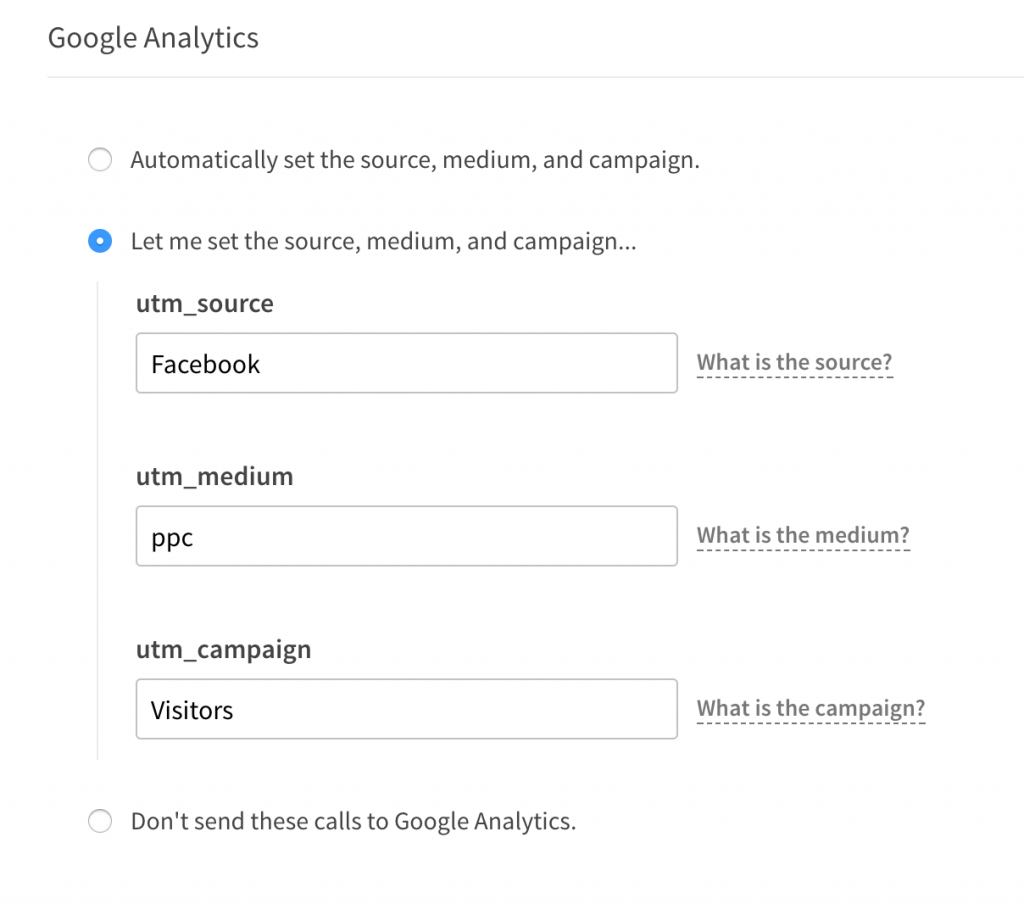 (Figure 4.14: Setting your tags.)
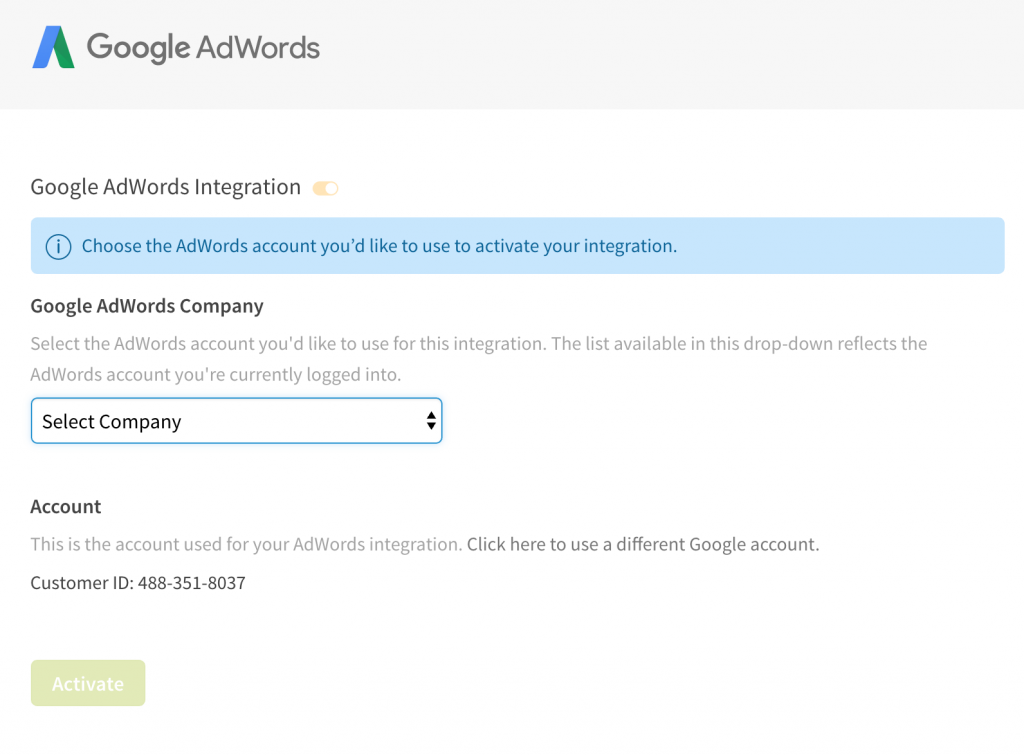 (Figure 4.15: Select the company account you’re activating integrations for.)
Then, if you want the data pulled into AdWords, you can import those goals back into AdWords which is another method for conversion tracking.
The standard AdWords integration with keyword pools is one way to integrate with AdWords and goal importing is another. If you do the standard integration that we discussed before, you’ll get AdWords data, like keywords, in CallRail and CallRail conversion tracking in AdWords. However, if you just import goals, you’ll just get the conversions in AdWords and won’t get the AdWords data in CallRail. You might want to listen to that section a few times because the distinction is import. If you want the most data possible in your campaigns, you’ll want to do the standard AdWords integration that requires keyword pools.
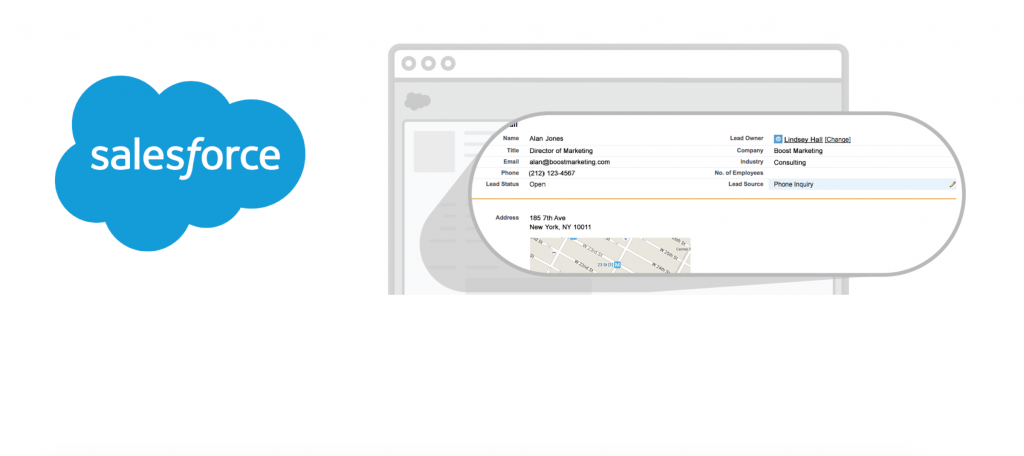
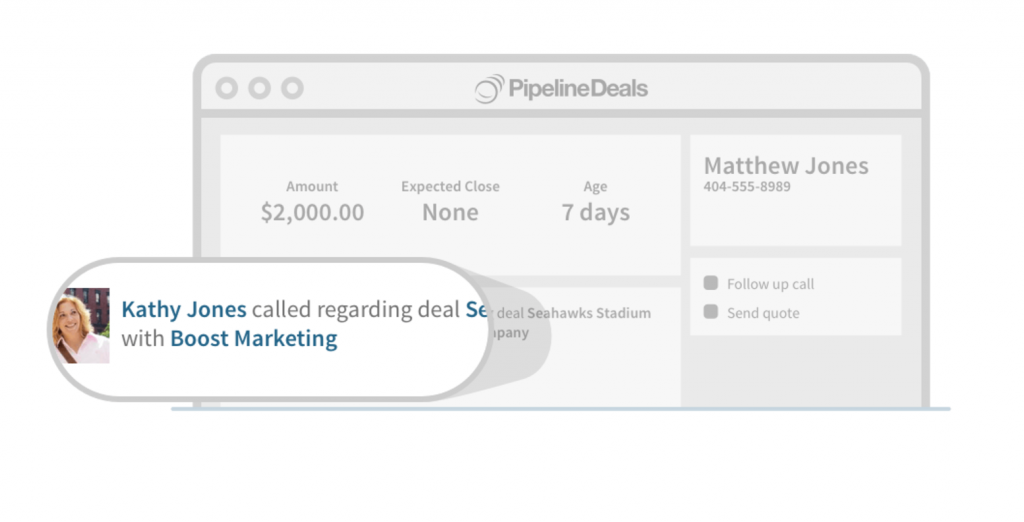
For those of you that use a CRM, you’re more than likely familiar with or using a platform like Salesforce or PipelineDeals, although there are hundreds to choose from (Figures 4.16 and 4.17 below). Integration with these platforms allows you to see phone call in your CRM which are basically treated as sales leads if you’re running lead generation campaigns. If you’re using Salesforce, you can use their sandbox environment to setup the call tracking before you push to your live environment account.
With PipelineDeals, you can display real-time CRM information for incoming calls and organize your new sales leads. You can also integrate using communication channels like Slack and HipChat so you’re notified every time a call is generated (Figure 4.18 below). If you are tracking leads and want the team to get excited about calls, this might be a good morale booster to run throughout the office.
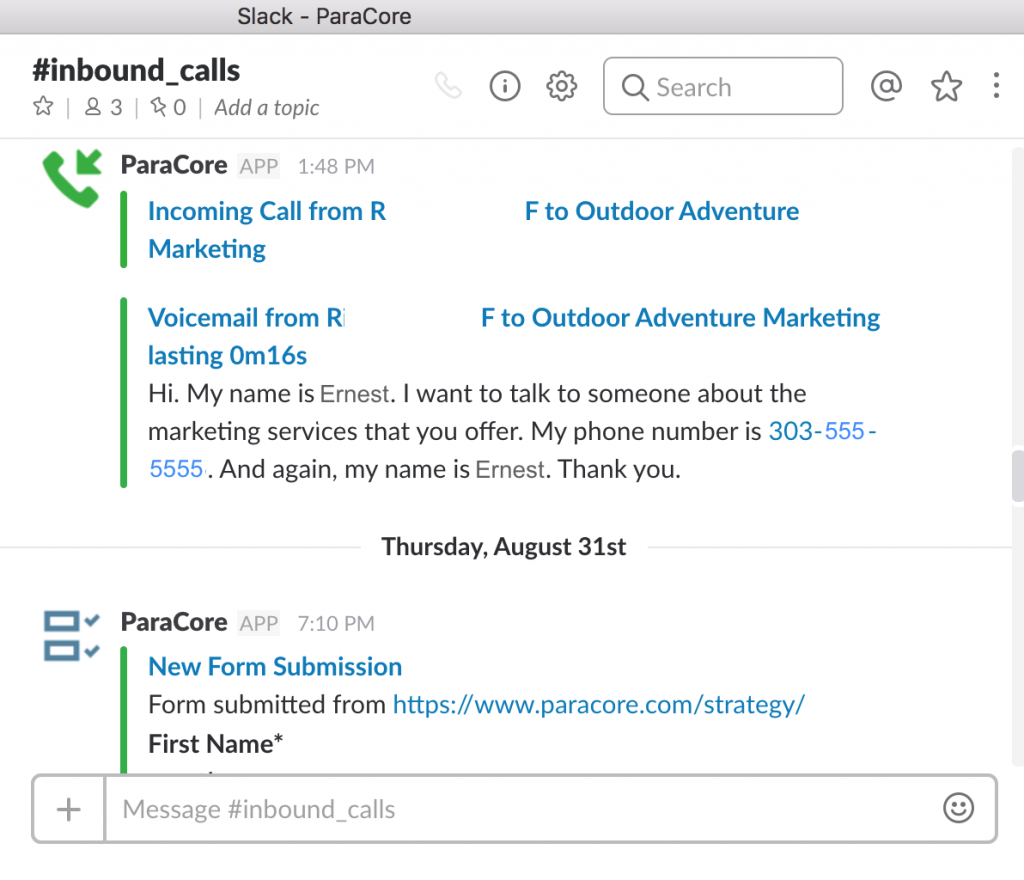 (Figure 4.18: This is what it looks like in the Slack application tool.)
However, if the system you use isn’t listed on the integrations page, you can still setup CallRail integrations for your PPC campaign, website, or landing page using Zapier via Webhooks. Zapier’s is a website whose entire purpose is to take information from one system and send that information to others. You can send call, text, or web form data to your application in real time via Webhooks (Figures 4.19 and 4.20 below).
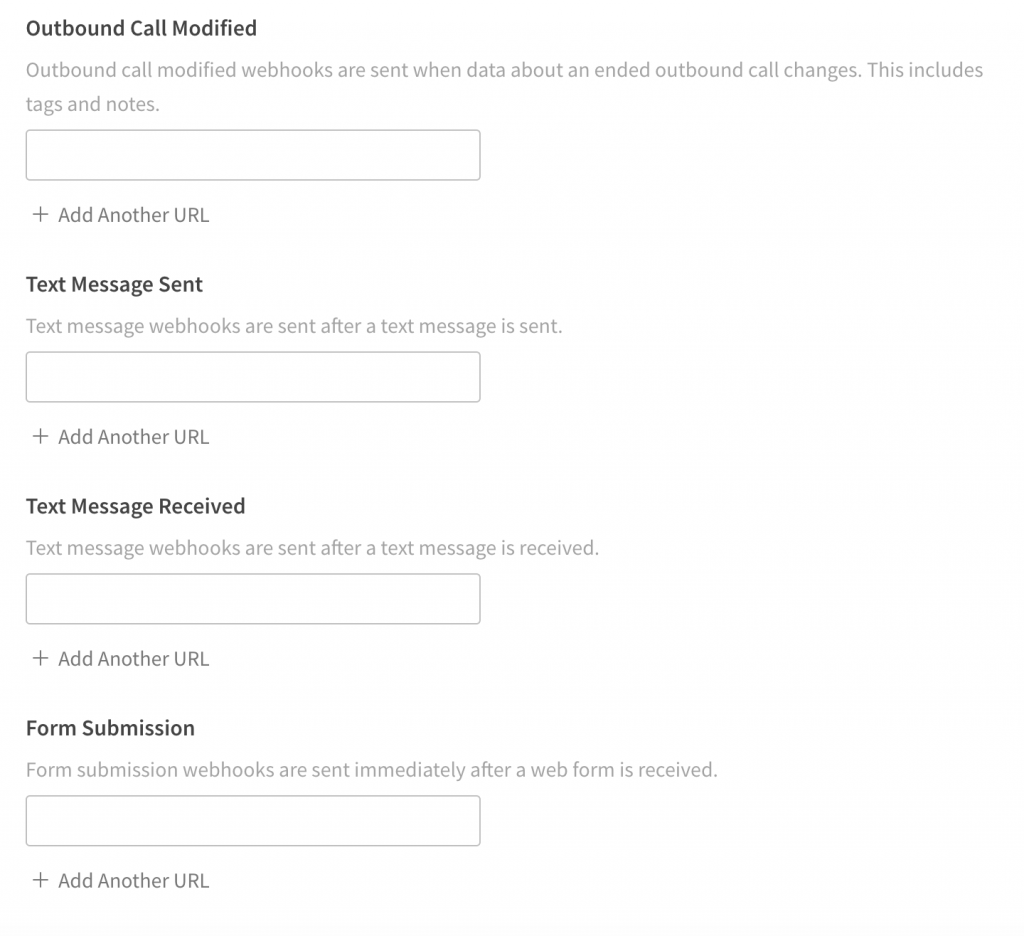 (Figure 4.19: Send call, text, or web form data to your application.)
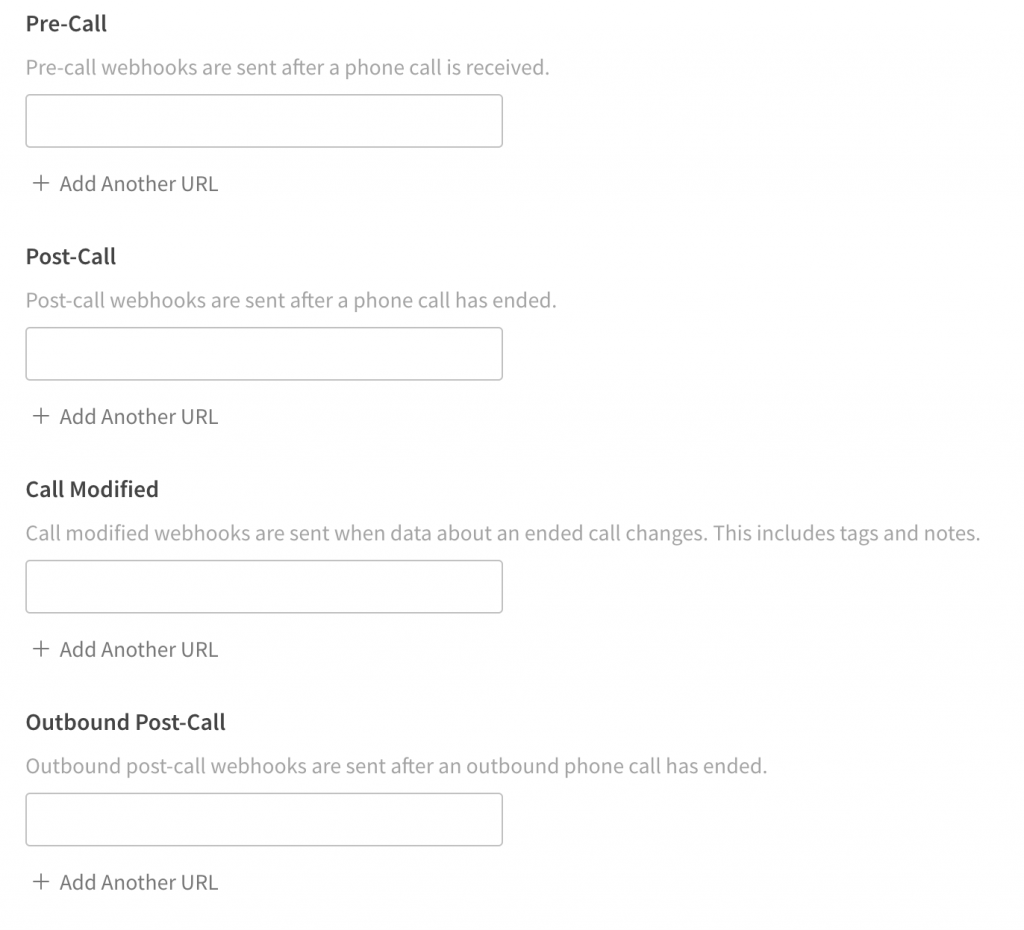 (Figure 4.20: Pre-call, post-call, and call-modified Webhooks.)
You can build integrations for custom web applications and reporting systems with pre-call, post-call, and call-modified Webhooks. Once you get down to it, integrations are much simpler than they sound.
So, there you have it, that’s your overview of setting up CallRail integrations for your PPC campaign. Make sure you check out our next video about CallRail notifications where we’ll cover how to set them up correctly, and utilize them wisely.
If you enjoyed this video, please click the like button and make sure you click that red subscribe button below this video to receive updates on this series and more. Also, we’d like to hear from you. If you have questions or comments please post them below and I’ll see you in the next video!
Related Posts
- CallRail: Text Messaging
- CallRail: Integrations Overview
- CallRail: How to Block Spam Calls
- CallRail: Call Tagging
- CallRail: Notifications Overview
- CallRail: Activity Dashboard Overview
- CallRail: Interface Overview
- CallRail: Call Flow Tutorial
- CallRail: Form-to-Call Lead Handling
- CallRail: Multi-touch CPL Feature
- CallRail Keyword Spotting & Auto-tagging
- Call Tracking Overview
- CallRail Local Number Swap
- CallRail Bonus Features
- Using CallRail for Customer Service
- Call Flow Options
- Reporting With A Purpose
- Call Tagging, Scoring & Lead Classification
- CallRail Notifications
- Creating & Using Phone Numbers in CallRail
- Call Tracking Explained
Register Today
for In-Depth
CallRail Training
Visit the ParaCore Academy
Previous Video
Previous BlogCreating & Using Phone Numbers in CallRailNext Video
CallRail NotificationsNext BlogCurious how we can improve your campaigns?
Schedule some time to chat with our team so we can learn more about you and your business.
